It turns out I do still have more to blog about!
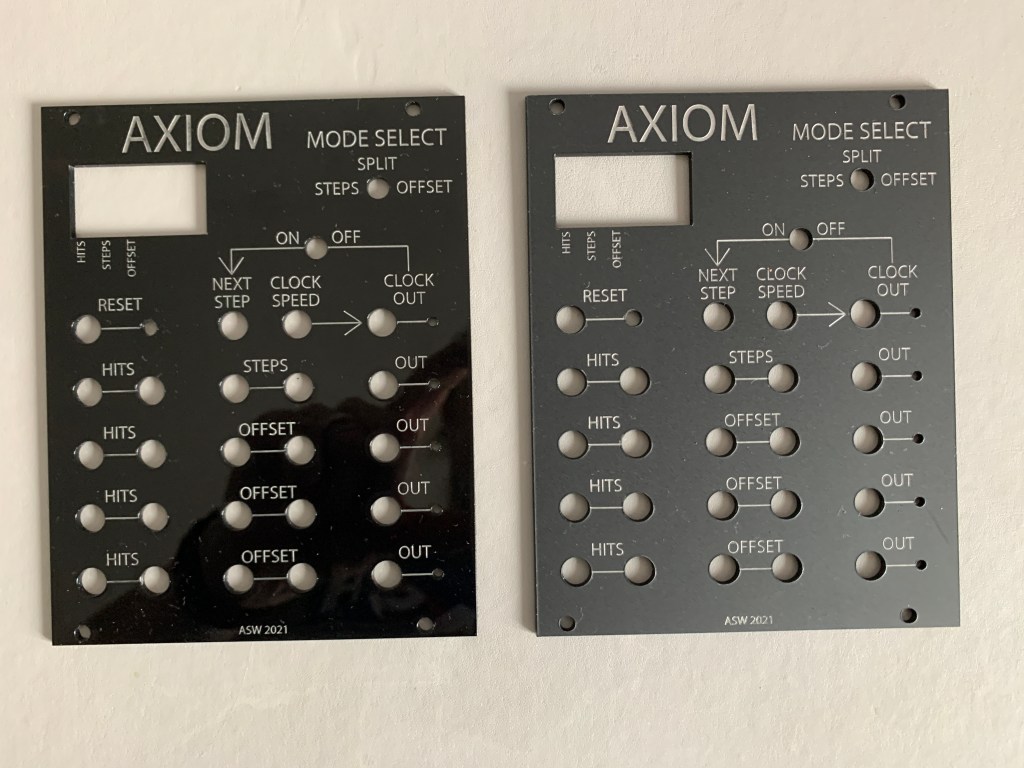
Firstly, my 2mm acrylic sheet turned up in the post, so I got my proper faceplates laser cut. I decided that adding silver paint into the etched areas would give the best effect, so gave this a go, and am really happy with how things turned out! However, the module was still visibly shiny and reflective, which stood out amongst other modules, so I sprayed the faceplate in a matt varnish. This has really upped the professional look of the unit, and I am now quite happy with this as an alternative material to the Doepfer suggested aluminium.
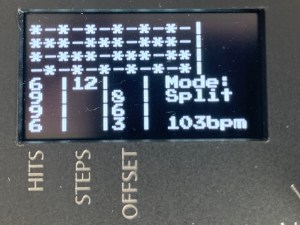
Next up, I did some work on the software. I removed the whole highlighted parameters idea as this was causing issues, and instead made only the editable parameters visible – this actually simplifies things and is a better solution that I may not have thought of without the software bugs! I also fixed a couple of other minor bugs (caused by code typos – oops!) and increased performance by modifying the tempo screen update to only run when the tempo changes, not every cycle. This seems to have fixed my clock/timing issues. I did some tests with my oscilloscope which gave some pretty odd tempo results (110 BPM was reading as 20% faster than it should have been where 120BPM was slow?!), but I think this is a problem with my (cheap) oscilloscope as using a simple tap tempo along with the module suggests that all tempos are in time – certainly not 20% out!
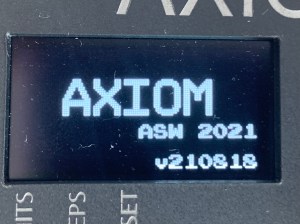
Finally, I added a splash screen to the unit when it powers on, with a simple animation where the letters appear one at a time. This also shows the software version number, which is made up of the date that build was compiled (YYMMDD).
I have also updated the IO board PCB design to incorporate the extra resistors mentioned in a previous post, and ordered some new PCBs and enough parts to build up three modules, so soon I will have enough units to hopefully send some out for testing!

