Euclidean Rhythms

In my last post I mentioned that my project is to build a Euclidean Sequencer – but what does this actually mean?

Those of us who create music will likely be familiar with the concept of a sequencer – a device or piece of software which allows us to send control messages to another noise-maker and tell it when to play notes, what notes to play, etc. So what makes this particular type of sequencer special?

The word Euclidean is primarily concerned with geometry – Euclid was a Greek mathematician of around 300BC, who posited that complex theorems could be constructed by setting a small number of simple rules, or axioms, and following these through to their logical conclusions.

A Eculidean rhythm follows this structure, its only axiom being that notes must be spaced as evenly as possible. There are a few different ways that remainders can be assigned – in this case we are not concerned with this as long as things are as even as possible, and that methods remain consistent.

To generate our rhythm using this rule we therefore need two values:

  1. The number of steps in each cycle, or its length. In a 4/4 time signature this would usually be 4, 8 or 16 steps.
  2. The number of events which occur within each cycle. This is the number of times that a note will be played. For example, if this number were 3 in a sequence with a length of 8, then we would expect to hear 3 notes and 5 rests in each cycle.

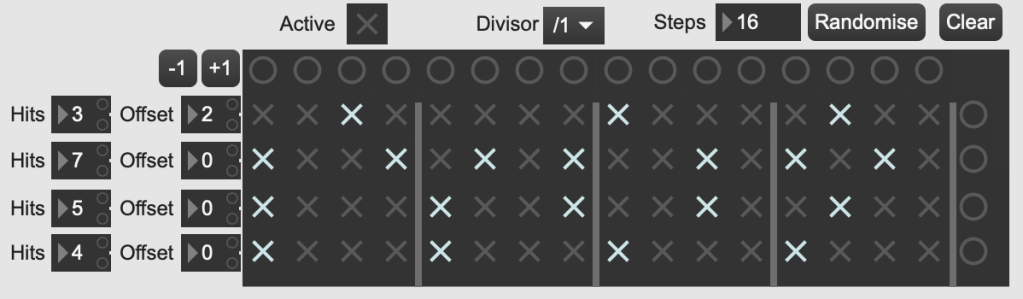
On their own, these sequences are not particularly exciting, but when layered on top of one another they can quickly create interesting rhythmic textures and polyrhythms. By adding an offset value, we can then push these sequence forwards or backwards, potentially creating even more interesting musical interactions.

An example of a four-lane Euclidean Sequence – in this case a screenshot taken from the Max patch which I will be describing in my next post.

Here are a few links to some more information:

https://www.musicradar.com/how-to/what-is-euclidean-sequencing-and-how-do-you-use-it

Click to access banff.pdf

The Big Plan

Final Major Project.

I have seen those three words bring dread and fear to the eyes of students and lecturers alike on many occasions. It seems to me that the keys to success, and the traits that always seem to appear in the best student work that I see, are threefold:

  1. Pick a topic that really interests you – this project will be lot of work, so getting bored and fed up with it is going to turn things into a slog towards the end.
  2. Plan ahead – leaving things until the last minute may be possible (if not advisable) with a smaller piece of coursework, but a project of this size is far more achievable if broken down into smaller goals, each with its own completion date. Plans can change and be modified over the course of a project, but just winging it seldom leads to reliable results or readiness dates.
  3. Talk to your tutor – it seems obvious, but asking the person who is going to end up marking your work as the project progresses is an easy way to keep things on track and make sure that you do not get bogged down in unneccesasary side-detail. Many students seem unwilling to share their work until it is completed, but this can only be counter-productive.

To address the first point, I have chosen a topic that greatly interests me, and a way of exploring this topic which fits with my desire to solve problems. I will be reviving a project which I began a couple of years back, and refining some designs and prototypes to construct a Eurorack compatible synthesiser module. Specifically, I am intending to build a Euclidean Sequencer, capable of sending control voltage data to further modules which I intend to build in the future, but which will likely be outside the scope of this particular project.

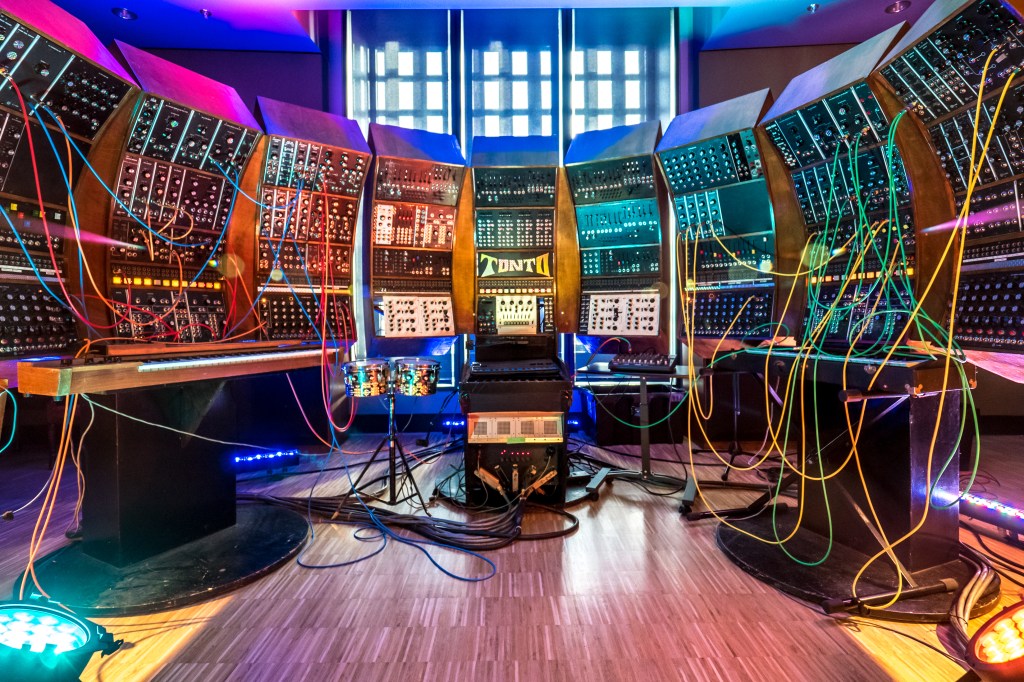
Synthesisers have always been an interest of mine, although this rig used by Stevie Wonder may be little larger than anything I will be using in this project… Image from rolling stone.com

The deadline for this is the 18th of August, and I therefore have quite some time to get this done. Rather than outlining an entire plan at the outset, I intend to start off by spending a couple of weeks recollecting my thoughts on the project, recording them in daily posts on this blog, and then talking to my tutor about a plan and timeline for the rest of the project around the 18th of June (after a week out doing a training course at Avolites HQ). The next ten or so posts here will therefore be a walkthrough of where I sat with this project when I left it two years ago, and I will then discuss and decide how to move forwards and what I aim to achieve with the project.

A gap in posting, a new direction for this blog, and a busy year

Well I haven’t posted on this page since December 2019 – but I’m back!

Over the next couple of weeks I will be updating this blog to become a repository for my thoughts and process notes whilst completing the FMP (University speak for Final Major Project) for my Master’s Degree.

In the past year and a half I have certainly been keeping busy, and although the Covid outbreak put a stop to many activities (I haven’t performed with the band in far too long!), I certainly haven’t been twiddling my thumbs…

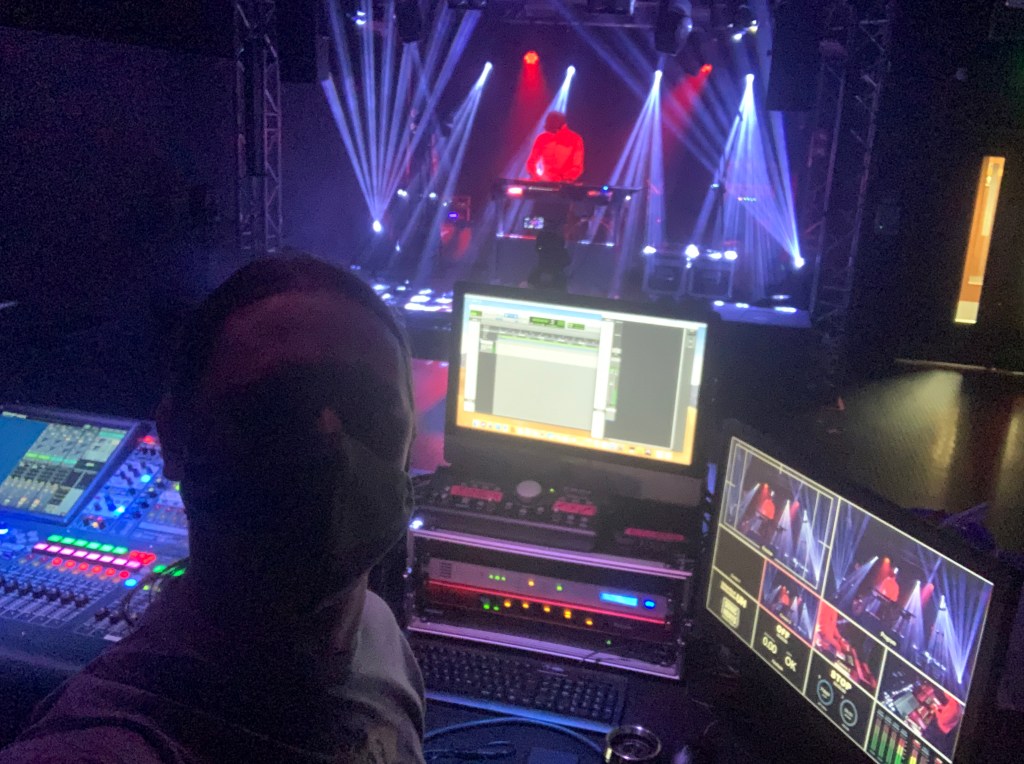
A selfie taken while recording a performance for Sonic Herts 2021 in the new 2B11 space.

Firstly, I have taken on a more senior role in the University of Hertfordshire technical team (I am now the Principal Technical Officer for Music), and was part of the team responsible for putting together a half-million pound specialist teaching facility at the University – the 2B11 Live Sound and Lighting Space. This space was used for most of this year’s Sonic Herts Festival, and I recorded and filmed all of the videos on the website (www.degreeshow.herts.ac.uk/sonic2021) single-handedly throughout the month of May. I also won the first ever UH Vice-Chancellor’s Award for Technical Staff Member of the Year, which was pretty cool!

What I didn’t do, however, was continue with my DIY synth project, but that will be a topic for my next post…

Live Sound with Hartwood

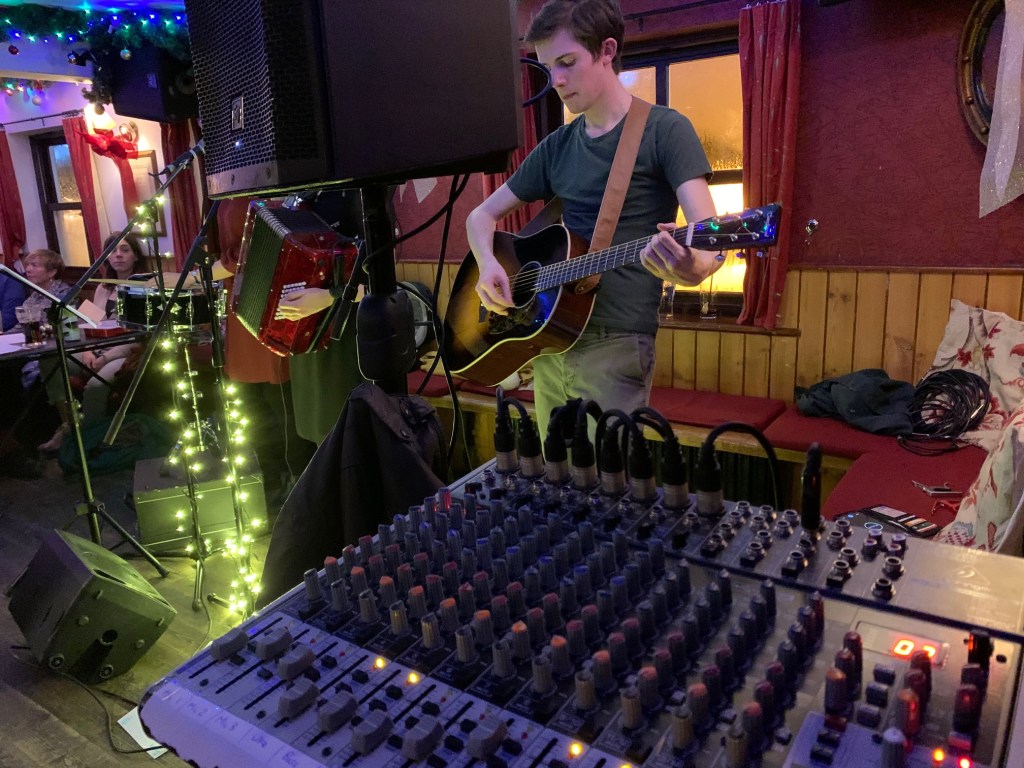
Yesterday I ran live sound for Hartwood, the folk-pop act I recorded earlier in the year.

I often find these small scale gigs more difficult than big venue events, as they are nowhere near as well set up and a bit more thinking is required rather than just plugging in, setting levels and cracking on. As the in-house PA was woefully inadequate, even for a pub gig to 50 people, I decided to bring in a simple setup comprising of a small analogue console, one FoH PA speaker and a single wedge monitor. Placing the single speaker was tricky, as the pub has several corners and the stage is not in a optimal position, but with careful placement I think I managed a pretty decent sound coverage.

My ethos when running live sound is to primarily focus on monitoring during sound check, and then move over to tweaking the front of house mix once the performance has actually begun. I am very much of the opinion that if the artist cannot hear themselves clearly then they will not be able to perform to the best of their ability, and a quality performance will always be more important than whatever an engineer can do a few metres further down the cable.

Thankfully, Hartwood did not fail to deliver and put on cracking show with super cheesy repertoire choices and some epic vocal harmonies which pretty much mixed themselves. The only thing I would really improve on if I had the chance would be to pop myself at the back of the room so I wasn’t mixing next to the speaker.

What a great way to spend a Sunday evening!

Dante “White Paper”

Today I received an email from Audinate – the company who make Dante Audio-over-IP – about a white paper they have just released titled ‘Audio Networking in Higher Education’.

On further inspection, it turns out that this “white paper” is really just an advertising piece, showing off how their products can be used in an educational setting to great effect.

It did however get me thinking about the way that our Dante network is currently set up, and ways of improving our University’s audio infrastructure – this may be something that I will need to look into further in the near future…

MSc Drum Recordings

Today my MSc Audio Engineering group did our drum recordings for the Recording, Mixing and Remixing project.

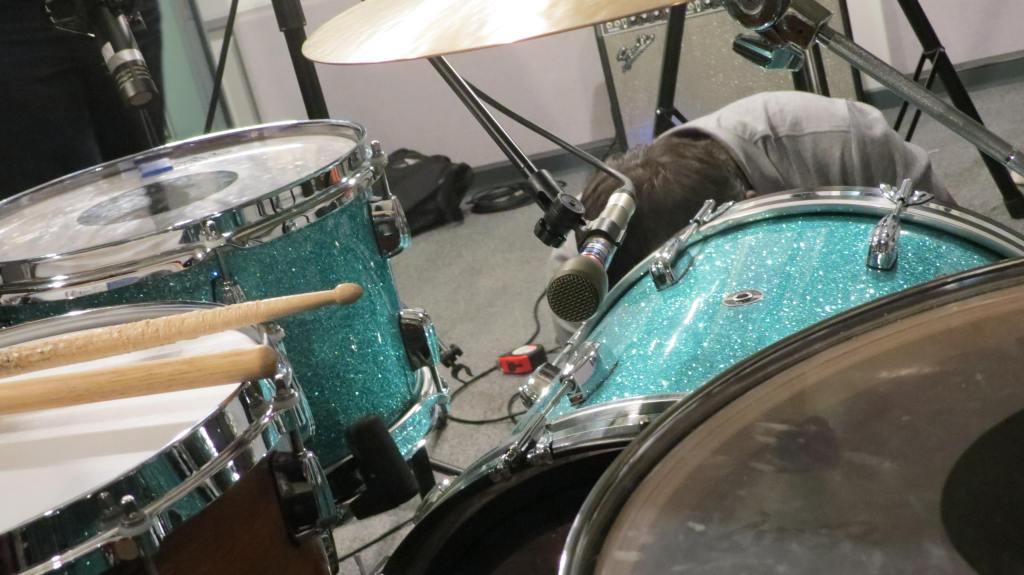
We had a session drummer (Alex) in for the afternoon, who brought his own drum kit with him. The difference in sound between an amateur drummer on a mid-level kit and a professional with pro-level gear was hugely apparent when comparing to our demo recordings. Alex was an excellent drummer, and really easy to work with.

It reminds me how important interpersonal skills are when working in musical settings – just being a great engineer is no help to your career if nobody wants to work with you because you’re always grumpy or unhelpful!

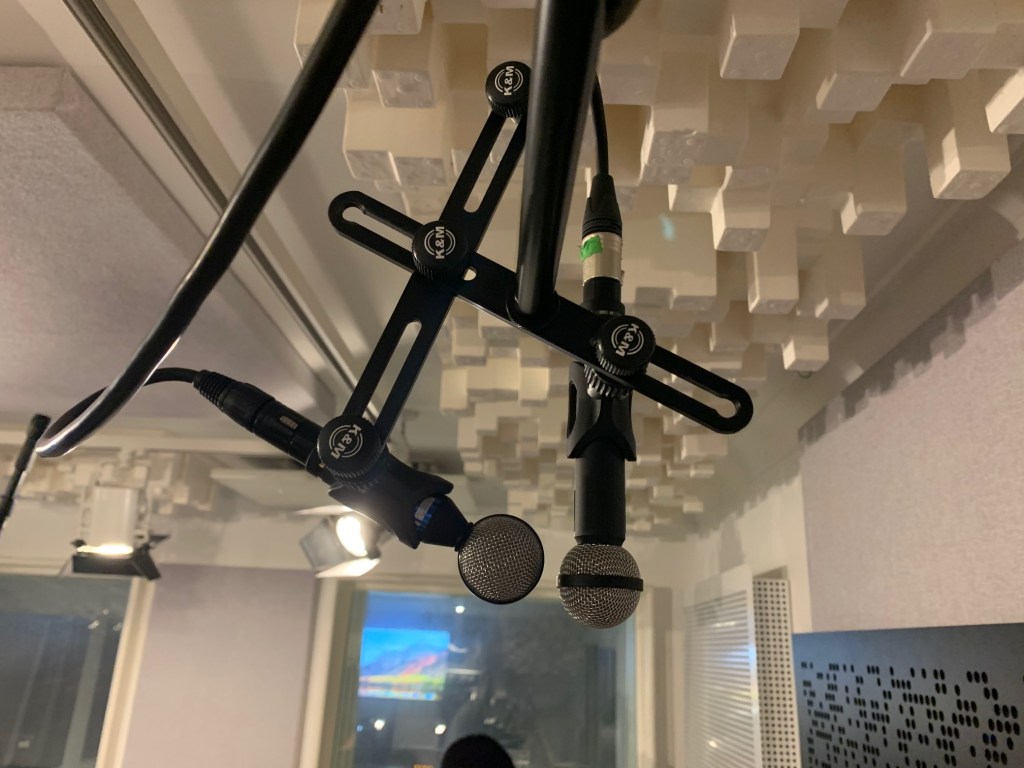
We attempted to use a few different recording methods to those I would usually employ when recording a drum kit – in particular we tried both Glyn Johns style overhead mics, as well as a mid-side stereo pair directly above the kit, using Beyer ribbon mics. I am particularly looking forward to seeing how the MS pair (pictured right) sound, as we were unable to monitor these while recording due to the nature of MS.

We also used a wurst mic placed in the centre of the drums, which is not something I have tried before, as well as a Crown boundary mic placed behind a pillar in the live room, which gave a surprisingly full impression of the whole drum kit. Once again, I drew some of these ideas from Huber’s (2019) Modern Recording Techniques, this time regarding tom mic placements and the use of the boundary mic to capture the full kit sound.

I think we may have some issues with the sound from our outside-kick mic, but other than that we got a decent sounding capture – I look forward to getting it mixed!

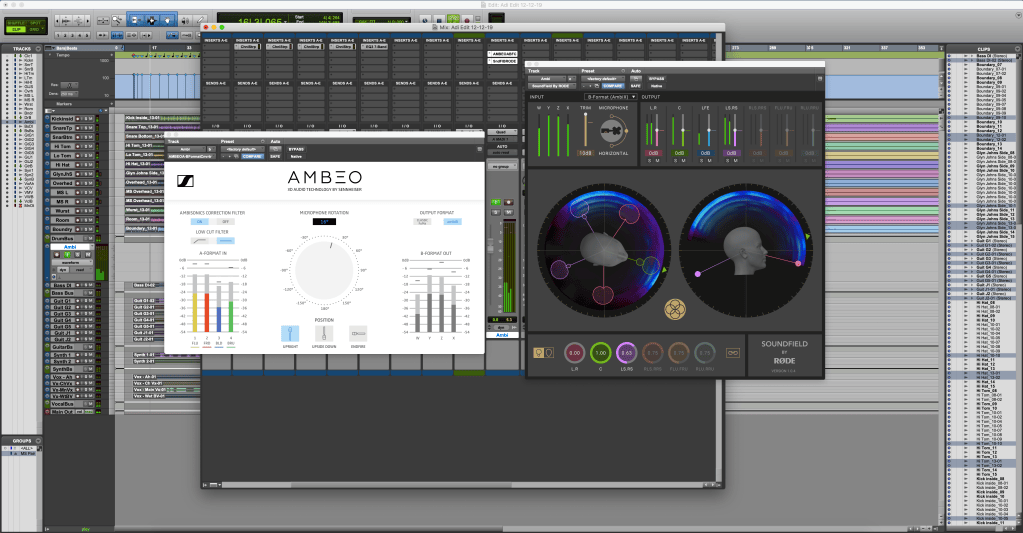
Ambisonics

One of our lecturers had an event on over the weekend which was recorded using a Sennheiser AMBEO ambisonic microphone, and today I gave him a hand converting the A-format audio into something more useful which he could then work with.

This requires some unusual bussing and using quad channels in ProTools – not something that is regularly done. I am sure it is do-able in Logic as well, but we couldn’t quite figure out how to get that to work.

While I haven’t had much of a chance to experiment with ambisonics myself, the theory and practical application of a 360 degree spatial soundscape is something I find fascinating. Maybe this is something I will look into in the future – particularly in its application in VR game sound, or other immersive audio formats.

I decided to do some further research into this field, and found a couple of papers on the AES about this topic – Neukom (2007) and Malham (2019) – which will hopefully add depth to my relatively base-level knowledge about this field.

Live performance and the joy of the sound limiter

Today I played a wedding with my function band, The Nameless Three.

For the most part the gig was great, with a very receptive (if not slightly inebriated!) crowd and a lovely venue. Usually at our gigs I split the bulk of the live-sound work with our keyboard player, but for this particular show he was unavailable and so we had a dep playing with us, meaning that sound check and general tech were all handled by myself.

Things mostly went as usual, although we did have some issues later in the evening with the sound limiter in the venue. We advertise ourselves as being ”sound limiter friendly’, and can usually adapt our volume levels pretty well, but in this situation we did end up in a bit of a pickle.

Towards the end of our second set, the audience got particularly rowdy. This is usually great, and in fact is what we are aiming for by this point in the evening, but at this particular venue it had an unexpected side effect.

It turns out that the microphone for the limiter was hidden away from the stage itself, meaning that our moderate volume wasn’t a problem – but the crowd cheering and singing along at the back was actually enough to set off the limiter – even between our songs at one point! Thankfully we are all pretty experienced with working around this kind of thing and managed to keep the audience clapping and singing along even while we waited for the power to come back on, but surely this kind of thing shouldn’t be a problem in a professional setting?!

While I fully understand and respect the need for audio level limiting and monitoring in many situations, surely the industry should by now have come up with a standardised way of fitting sound level meters and calibrating them appropriately to avoid this kind of embarrassing and event-compromising situation?…

An interesting discussion

Yesterday I handed in the essay which I have mentioned a few times now in this blog. As it was now finished, I decided to send it over to my younger brother to see what he thought…

Topher is a software engineer working for Rare, and has a far more in-depth knowledge of computer science than I do, so we often have interesting conversations on topics such as these. This time was no exception, and it turns out that Topher actually has a huge interest in fixed vs floating-point mathematics, which he readily shared his thoughts on with me. I will below transcribe an excellent comparison of the two which he sent me as part of WhatsApp conversation we had on the subject:

“The simplest way to imagine it is this – think of your fixed-point number as a metre stick, where the smallest number is 0 and the largest is 100 (ignore the sign, and ignore how many bits this is). Looking at the metre stick you can count all the centimetres and all the way down to the millimetres, but no smaller. There is a finite, fixed, minimum amount of distance between the two values on the stick – one millimetre.

Now, say I want to store a value of 106cm. I can’t, its too big. This is where the fixed point shift comes in (conceptually). We’ll ‘shift the fixed point twice’, and double the exponent at the same time. In a real fixed-point number this would mean the maximum value doubles twice – but we’re working in base 10 on this stick, not base 2 – so it multiplies by 10 twice. Now our metre stick can suddenly show 100m! However, if we look down, the smallest value we can now see is 1cm – we can no longer see the millimetre divisions – if we had a value that used to be 33.34cm it is now 33cm.

This is the key idea behind fixed point. Adding extra bits lets us get more precision, and shifting where our ‘fixed point’ is increases the maximum value we can store, at the cost of losing precision. BUT we have clear, guaranteed precision, which is important because of the relationship to floating point numbers.

Now, consider our metre stick again. It is one metre long, and when you look at it, you very clearly see two markings – 0m at the left end, and 1m at the right end. In between this, you can see markings for 10cm, 20cm, 30cm etc. spaced evenly along it. But you notice something odd. You can’t find say, 64cm. It’s either 60cm or 70cm – there are no markings in between. Seemingly, all of the 10cm demarcations are empty, until you look to the very left. You can see 1cm, 2cm, 3cm etc. inbetween 0cm and 10cm, but nothing between most of them – no 3.8cm to be found. But you can see millimetre markings between 0cm and 1cm and, looking really closely, you can actually see 10 tiny markings between 0cm and 1mm. The space between your markings are apparently not fixed or finite – they instead get exponentially larger, every 10 times (it’s important again that we’re in base 10 here, not base 2). You think that this is a stupid-ass metre stick!

Now, you’ve got a piece of furniture that you know is somewhere between 60cm and 70cm, but you cannot for the life of you figure out anything more. Without going into the nitty gritty details, this is where the ‘shift’ you talked about earlier comes into play. We increase our exponent by a value of 1 and… boom! Our metre stick is now actually 10m long! And even better, we can now see every centimetre between 0 and 100! We don’t have anything longer than a metre in our flat that needs measuring that precisely, so we’re all good. We can now measure the coffee table and see that it’s exactly 68cm.

BUT! There are no longer any markings between 0 and 1mm. A millimetre is now the smallest value we can measure, where before it was 1/10th of a millimetre. This has a very important implication – if the range of values being captured becomes large enough, then your higher values will become increasingly more imprecise.”

At this point the conversation digressed into the particulars of how this number theory relates to digital audio in particular, and becomes much harder to transcribe in a readable way, but it left me with a lot of food for thought and opened up some new interesting research avenues. Not bad for a guy who used to use photos of himself drinking milk to present himself to the world!
An evening at the theatre

Tonight I went to Watford Palace Theatre to see my mum performing in a production of the well-known musical, Sister Act.

I must admit that I often find myself distracted at these kinds of performances, as my interest in live sound technology takes over and I spend much of my time analysing the equipment being used and the work of the sound and lighting engineers, rather than actually immersing myself in the show. This time was no different, and in fact I spent a good fifteen minutes of the show thinking back to research I have been doing recently into 32-bit floating-point audio.

Earlier in the week I became aware of a couple of bits of recording hardware that record into this format (including the Zoom F6, pictured below), meaning that they have an absurd amount of dynamic range, and are essentially un-clippable. One of the soloists in the show really started singing her heart out at one point, but unfortunately the volume of her voice was so loud that it clipped the wireless transmitter that she was wearing, and audible distortion occurred. To be clear, this was nowhere near bad enough to ruin the performance, or even bad enough that most in the audience would notice, but it got me thinking…

Applying the same 32-bit floating-point technology as used in products like the Zoom F6 to wireless belt pack transmitters would nullify the issue that currently occurs when they are overloaded – a live sound engineer could just turn down the signal and remove the distortion! Having worked on musicals in the past, I know this can be a very frustrating issue, especially when working with amateur performers who may not place the mic the same distance from their mouth on each night of the same show, causing wildly varying signal levels.

Once again, this requires further research, and will also likely feature in my Cutting Edge essay…

(Sorry for the awful picture mum – it was the only one I could find!)

Create your own website, free on WordPress.com.Create your own website.
Start free